|
Size: 2802
Comment:
|
Size: 2831
Comment:
|
| Deletions are marked like this. | Additions are marked like this. |
| Line 13: | Line 13: |
| On your Windows XP computer at home, open the Windows Explorer (NOT Internet Explorer) and click on the menu Tools -> Map Network Drive... | On your Windows 7 computer at home, open the Windows Explorer (NOT Internet Explorer) and click on "Map Network Drive" Select any Drive. In the screenshots, Z: is used. The folder to connect to is called \\ides.ethz.ch\<user> '''REPLACE <user> WITH YOUR n.ethz USERNAME e.g. aeinstein''' |
| Line 17: | Line 19: |
| Select any Drive. In the screenshots, Z: is used. The folder to connect to is called \\ides.ethz.ch\<user> '''REPLACE <user> WITH YOUR n.ethz USERNAME e.g. aeinstein''' | After clicking on "Finish", you will be asked for a password. Enter your n.ethz password. |
| Line 21: | Line 23: |
| After clicking on "Finish", you will be asked for a password. Enter your n.ethz password. {{attachment:04_map_drive.png}} |
|
| Line 26: | Line 24: |
{{attachment:06_install_vpn.png}} |
|
| Line 33: | Line 29: |
| {{attachment:04_map_drive.png}} |
|
| Line 35: | Line 33: |
| {{attachment:06_install_vpn.PNG}} | {{attachment:06_install_vpn.png}} |
| Line 39: | Line 37: |
| {{attachment:07_install_vpn.PNG}} | {{attachment:07_install_vpn.png}} |
| Line 43: | Line 41: |
| {{attachment:08_install_vpn.PNG}} | {{attachment:08_install_vpn.png}} |
| Line 45: | Line 43: |
| The setup starts... | Click "Next" to continue... |
| Line 47: | Line 45: |
| {{attachment:09_install_vpn.PNG}} | {{attachment:09_install_vpn.png}} |
| Line 51: | Line 49: |
| {{attachment:10_install_vpn.PNG}} | {{attachment:10_install_vpn.png}} |
| Line 53: | Line 51: |
| Click in "Install" to start the installation | Click in "Install" to start the installation and confirm that you really want to install this software when asked by Windows. |
| Line 55: | Line 53: |
| {{attachment:11_install_vpn.PNG}} | {{attachment:11_install_vpn.png}} |
| Line 59: | Line 57: |
| {{attachment:12_installing_vpn.PNG}} | {{attachment:12_install_vpn.png}} |
| Line 63: | Line 61: |
| {{attachment:13_installation_end.PNG}} | {{attachment:13_installation_end.png}} |
Obtaining the VPN software
Login to https://ides.ethz.ch using your n.ethz username and password.
In the "Katalog", search for "VPN". IDES should show you a product called "VPN 5.x" (September 2011). In the future, the version number might be higher.
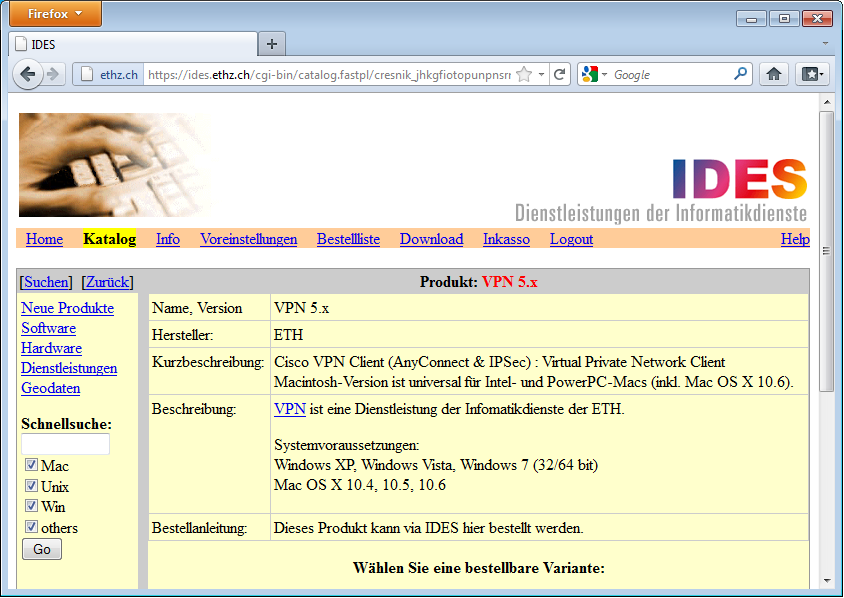
Order the Windows version. You will be sent a confirmation email by IDES.
On your Windows 7 computer at home, open the Windows Explorer (NOT Internet Explorer) and click on "Map Network Drive"
Select any Drive. In the screenshots, Z: is used. The folder to connect to is called \\ides.ethz.ch\<user> REPLACE <user> WITH YOUR n.ethz USERNAME e.g. aeinstein
After clicking on "Finish", you will be asked for a password. Enter your n.ethz password.
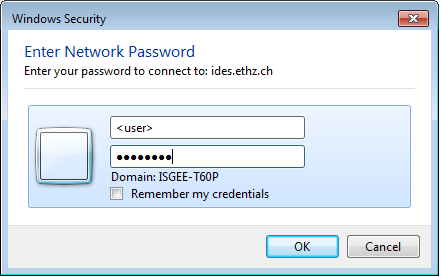
If the password is entered correctly, the mapped drive will open and display all the software you ordered on IDES.
Installing the VPN software
In the mapped drive, open the folder "VPN_5.x_Win_EN" (the version might different in the future).
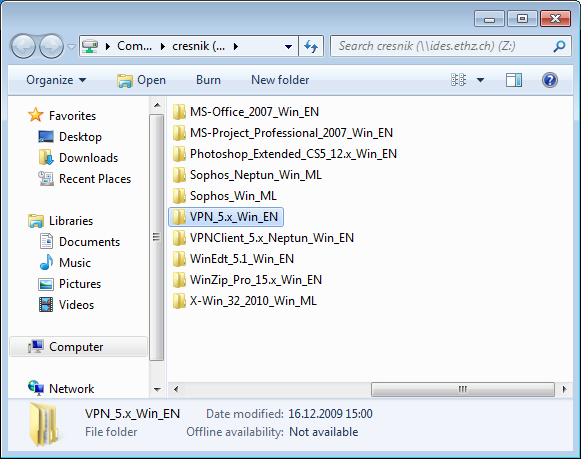
Doubleclick the folder "Cisco AnyConnect Client"
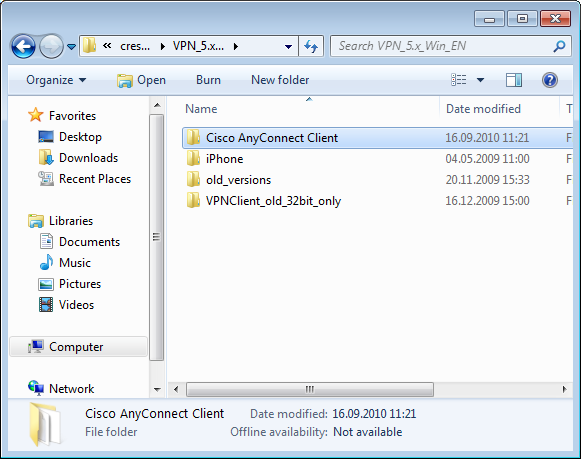
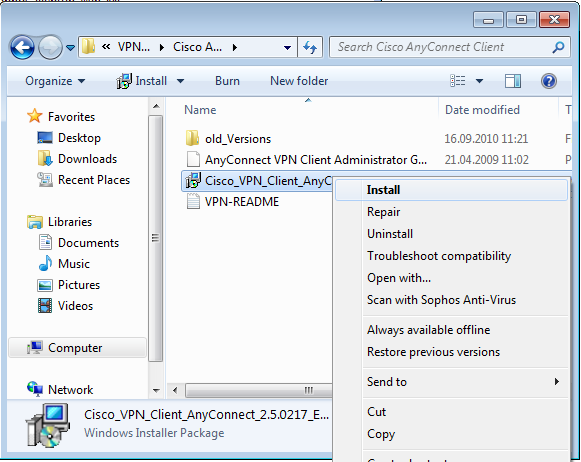
To start the software installation, doubleclick "Cisco_VPN_Client_AnyConnect_2.5.0217_EN_ETHZ" or right-click it and select "Install"
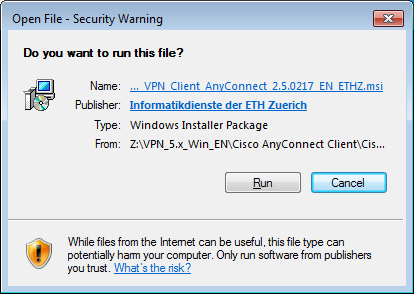
Windows will show the following warning. Make sure the "Publisher" is "Informatikdienste der ETH Zuerich". Do not install the software if no publisher is listed or if you downloaded the software from somewhere else.
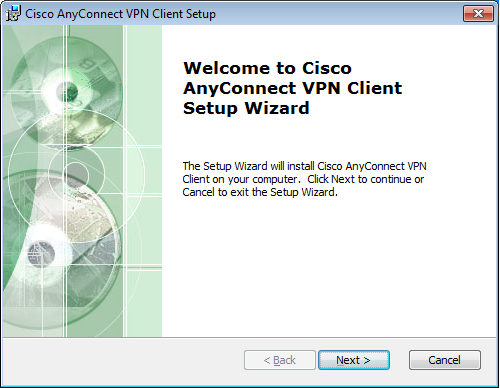
Click "Next" to continue...
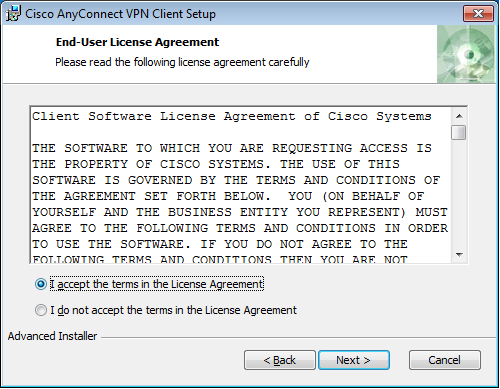
Click on "I accept the termin in the License Agreement" and then "Next"
Click in "Install" to start the installation and confirm that you really want to install this software when asked by Windows.
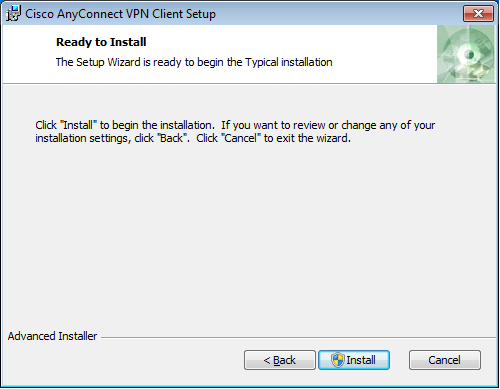
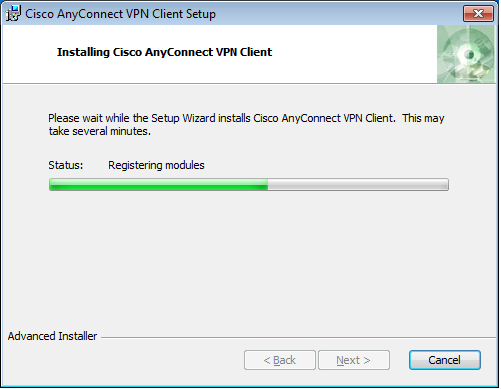
The installation should only take a little time
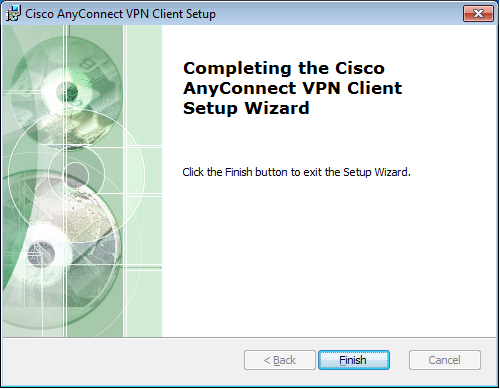
Click on "Finish" once the setup has installed all the files.
Running the VPN software
The Cisco AnyConnect VPN Client can be started via Start -> All Programs -> Cisco -> Cisco AnyConnect VPN Client
The Group ETHZ is pre-selected. Unless you have some special requirements or settings, leave this as it is. Enter your n.ethz username and password and click on "Connect"
If the VPN connection can be established, the AnyConnect VPN Client icon in the taskbar will show a lock symbol:
Congratulations, you are now connected to ETH via VPN!