|
Size: 2127
Comment:
|
Size: 2631
Comment:
|
| Deletions are marked like this. | Additions are marked like this. |
| Line 11: | Line 11: |
| The instructions below must be followed carefully. You may render your system unusable by not doing so. While one may recover the system and no data loss should occur, it's still quite a nuisance. So, if you don't feel comfortable doing "fiddling" around in your system, don't hesitate to contact us by mail: support@ee.ethz.ch | You must have administrative rights on your mac, and VPN set up according to the instructions given on ''[[Workstations/Network/VPN/Mac OS X 10.6 "Snow Leopard"|VPN on Mac OS X 10.6 "Snow Leopard"]]''. The instructions below must be followed carefully. You may render your system unusable by not doing so. While one may recover the system and no data loss should occur, it's still quite a nuisance. So, if you don't feel comfortable "fiddling" around in your system, don't hesitate to contact us by mail: support@ee.ethz.ch |
| Line 24: | Line 24: |
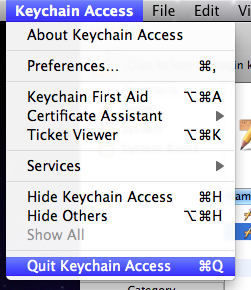
| || 9 || You'll be asked for credentials. Enter them, or the ones of an administrative user. || {{attachment:009.png}} || || 10 || Now, allow the Application to modify the settings by clicking on ''Allow''. || {{attachment:010.png}} || || 11 || Quit the Keychain Application || {{attachment:011.png}} || |
This page is currently being edited and not finished!
OS X VPN Credentials Bug Correction
A bug was discovered in 10.6 and 10.6.1 which forces the user to enter his credentials each time when trying to connect the VPN. Follow the Instructions below to resolve the problem.
A word of caution
You must have administrative rights on your mac, and VPN set up according to the instructions given on VPN on Mac OS X 10.6 "Snow Leopard". The instructions below must be followed carefully. You may render your system unusable by not doing so. While one may recover the system and no data loss should occur, it's still quite a nuisance. So, if you don't feel comfortable "fiddling" around in your system, don't hesitate to contact us by mail: support@ee.ethz.ch
No. |
Step |
Exemplary Picture |
1 |
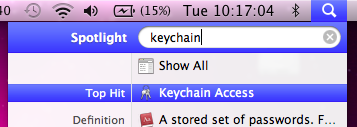
Open the Application "Keychain Access". It can be found either by using Spotlight (fastest) or by navigating to this Path: Applications > Utilities |
|
2 |
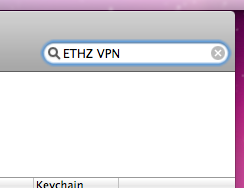
Enter the name you've chosen for the VPN Connection (see Step 6 in VPN on Mac OS X 10.6 "Snow Leopard") in the search field located in the upper right corner of the window (Here, it's called ETHZ VPN). |
|
3 |
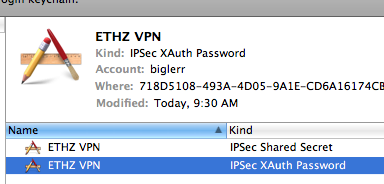
Multiple Lines appear. Double-Click on the IPSec XAuth Password entry. If more than two lines appear, choose the most recent one (Refer to the date column). |
|
4 |
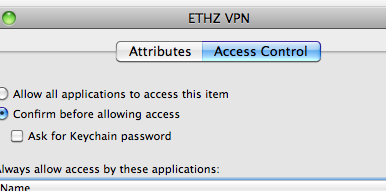
Click on the Access Control Tab. |
|
5 |
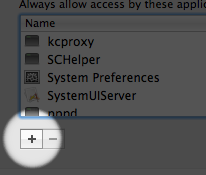
Click on the 'Plus'-Button (+) located in the lower left corner of the window |
|
6 |
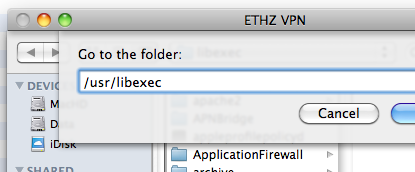
Press the following key combination: Command + Shift + G. A small window appears. Enter /usr/libexec in the text field, and then click 'Go' |
|
7 |
A list with various files appears. Search for and highlight the one called configd. After doing so, click on Add. |
|
8 |
Click on Save Changes in the lower right corner of the window. |
|
9 |
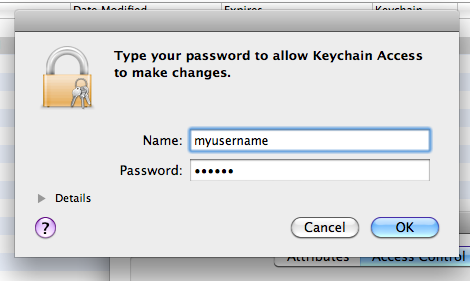
You'll be asked for credentials. Enter them, or the ones of an administrative user. |
|
10 |
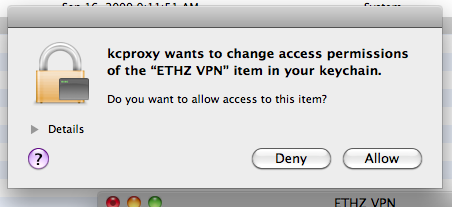
Now, allow the Application to modify the settings by clicking on Allow. |
|
11 |
Quit the Keychain Application |
|
